
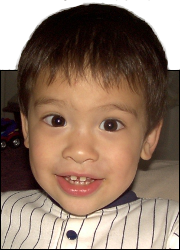
 This is Alpha, the first-born, when he was 2YO.
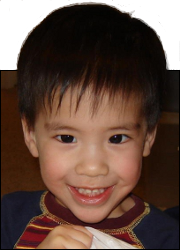 This is Beta, the second-born, when he was about 2YO.
 This is Gamma, the third-born, when he was about 18MO.
Pumpkin Carving
Nov
14
2011
Now that everyone has forgotten about Halloween and moved on to November stuff, it’s time for me to update you on this year’s pumpkin carving.
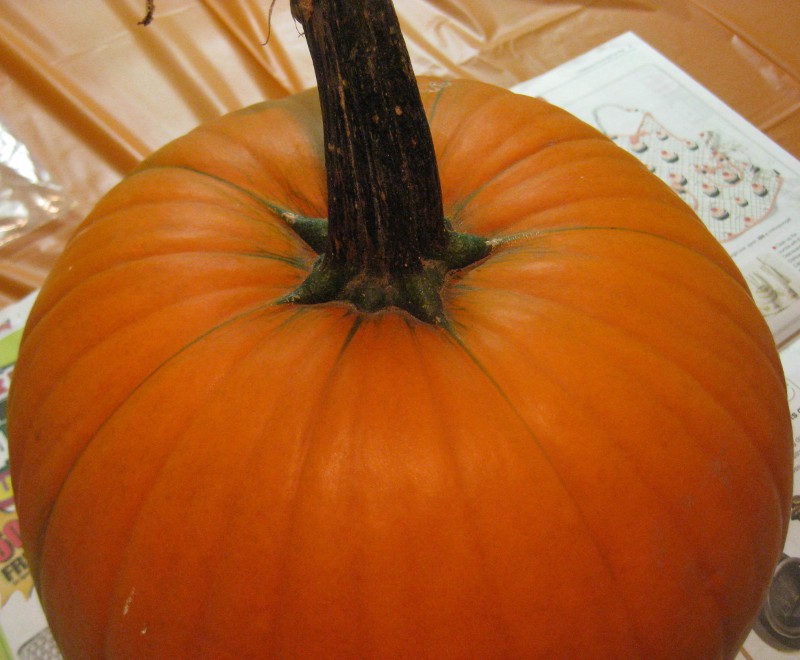 The first step in all of this pumpkin-carving business is to select good pumpkins. Pictured here is a perfectly-formed pumpkin. It’s easy for us, because our neighbors grow and sell pumpkins. It’s on a small scale, but we still get a nice selection.
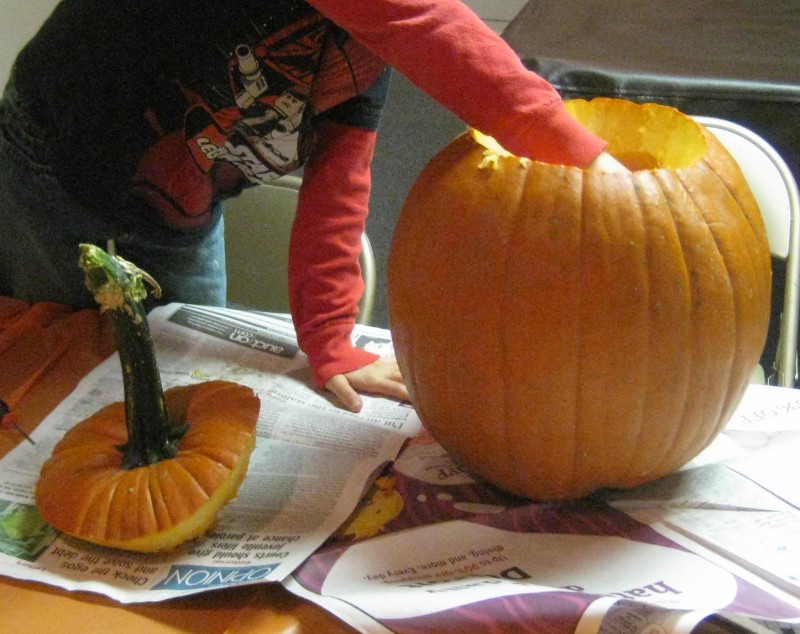
The next step is to cut open the top
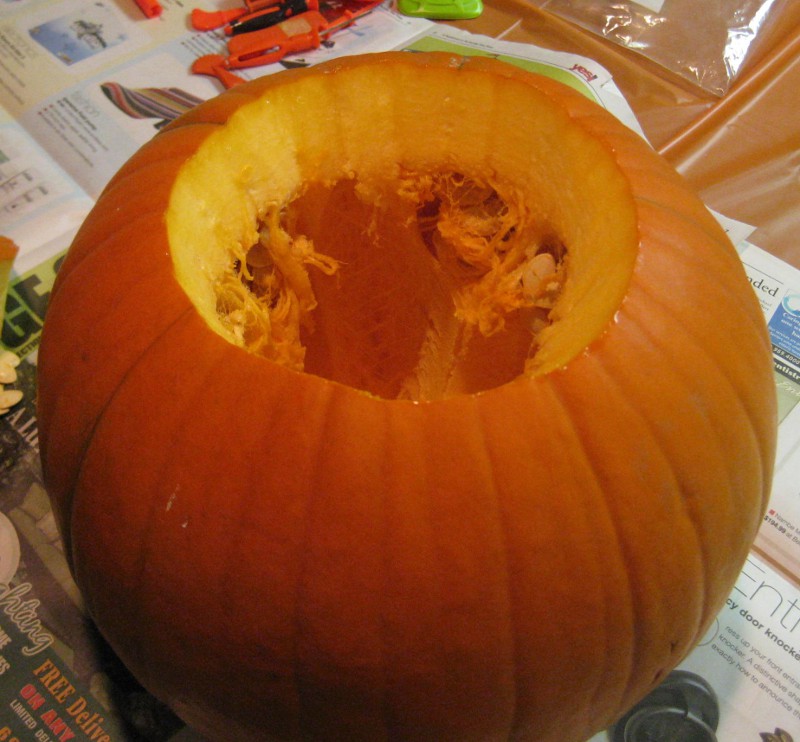
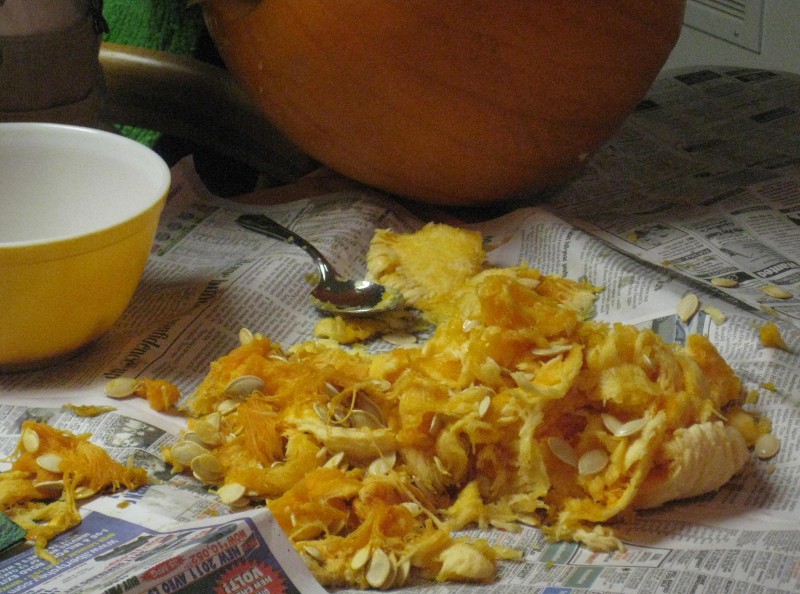
Step 3: scoop out the innards
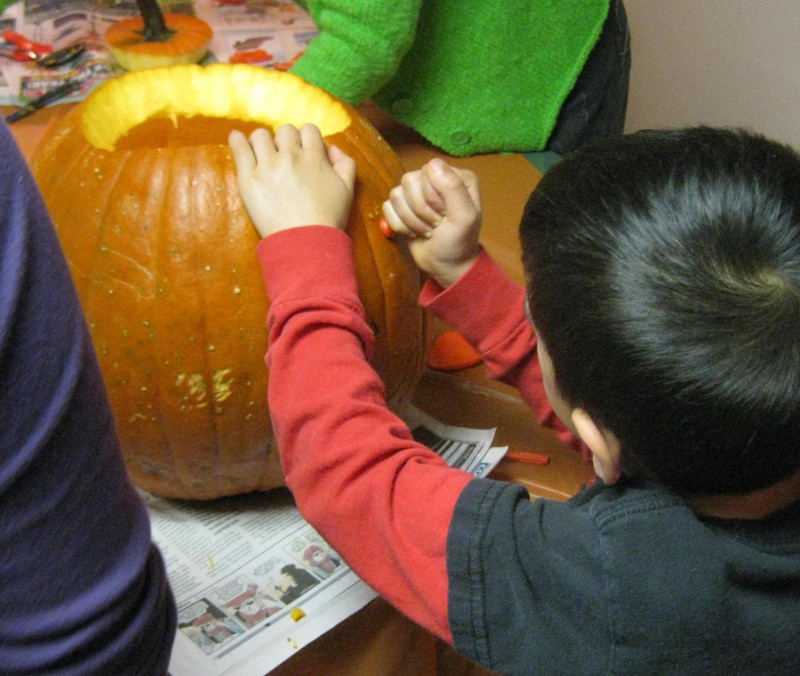
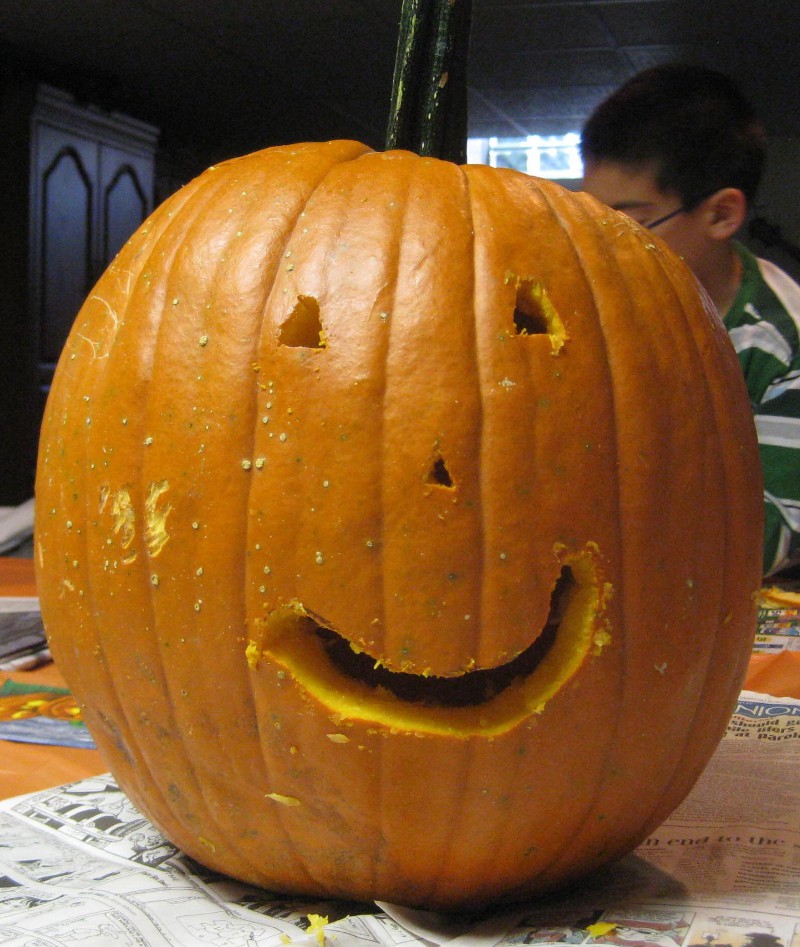
Step 4: Cut out the design
You may want to freehand it
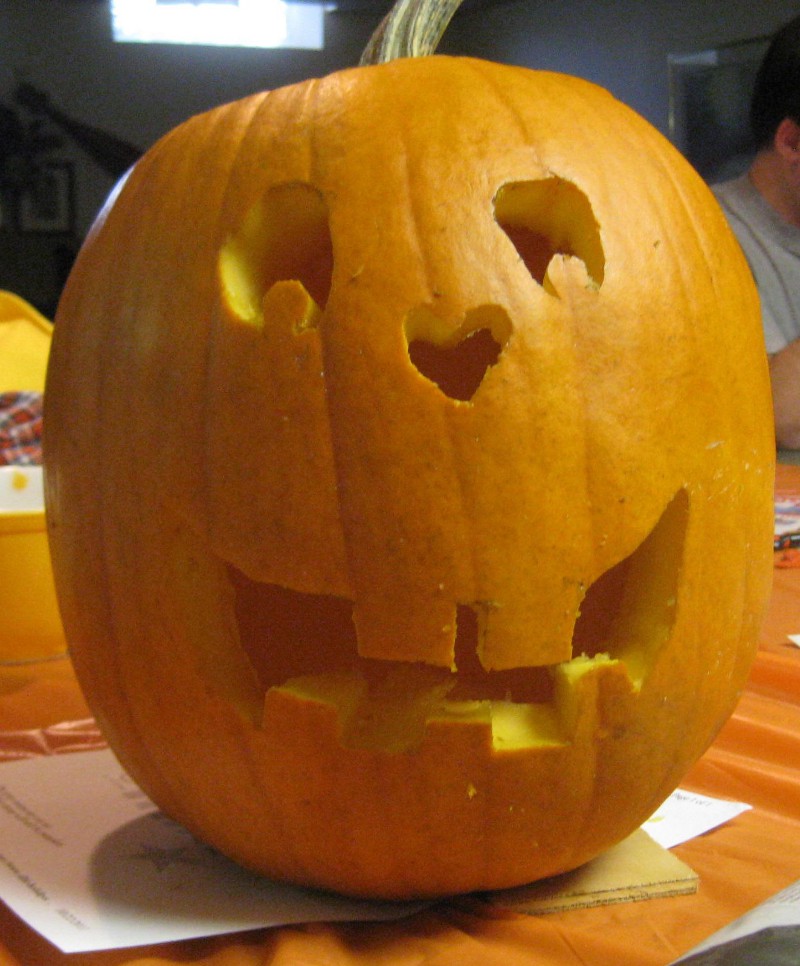
or you may want to use a template
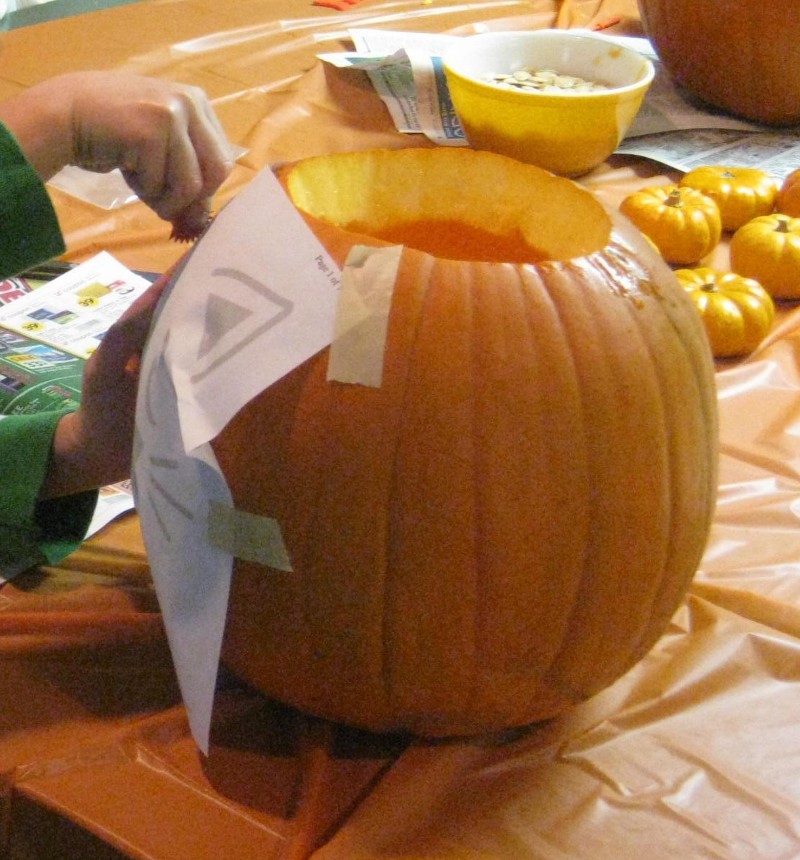
It’s difficult to get the tape to stick to the pumpkin though.
Step 5: Display the jack-o-lanterns
Tips:
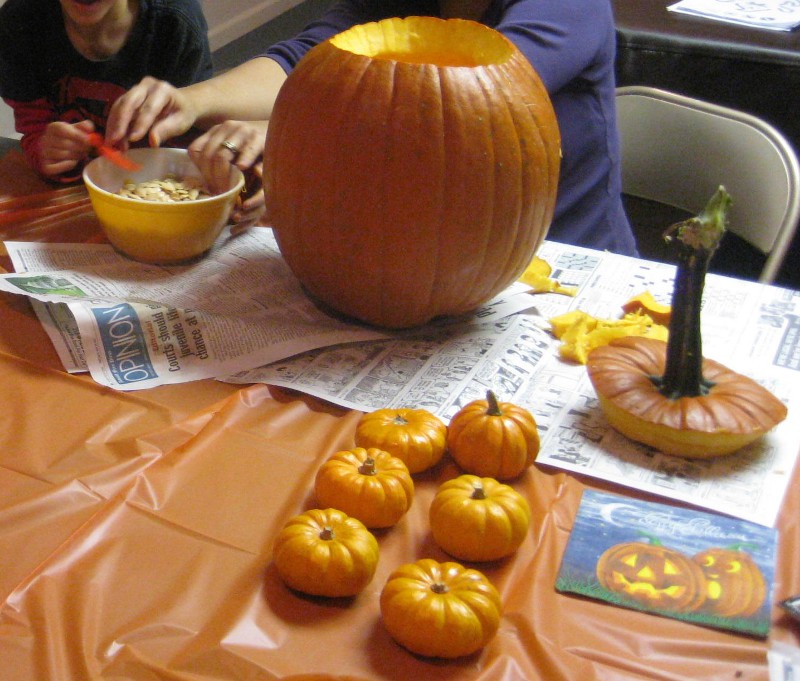
Have a big enough workspace:
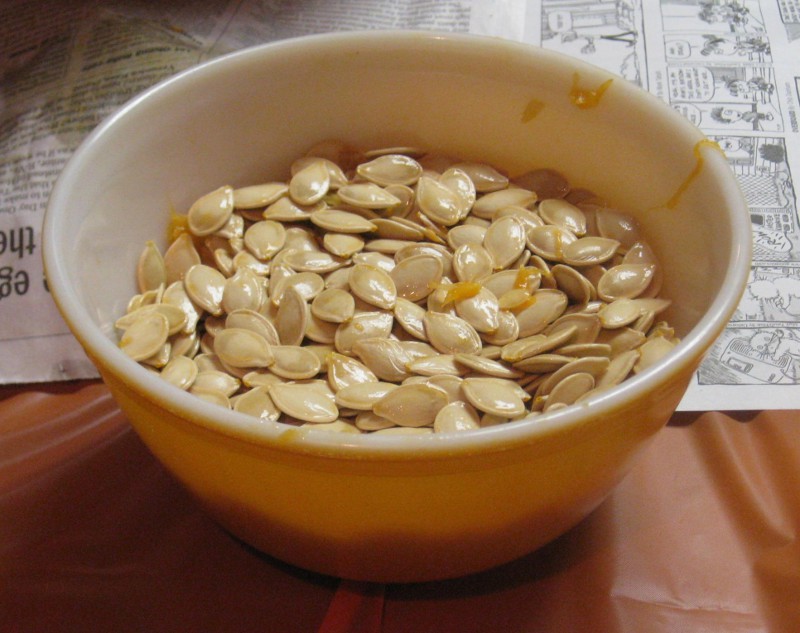
It helps to have something to hold the seeds, especially if you want to roast them later:
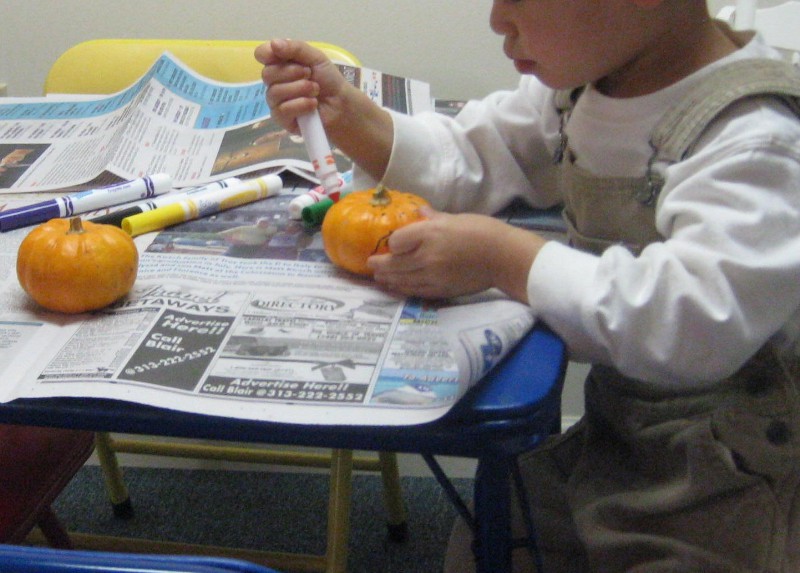
If a child is too young for carving, get him a small pumpkin for coloring:
The End.
and in the cutting of stones for settings, and in the carving of wood, that he may work in all kinds of craftsmanship.
Exodus 31:5


This little article thingy was written by Some Guy sometime around 6:05 pm and has been carefully placed in the Family category.


November 14th, 2011 at 10:34 pm
My wife can’t wait to do this with Evan.
I can.
November 15th, 2011 at 12:29 pm
I didn’t know they had pumpkins over there. Can you carve tumbleweeds instead?
November 15th, 2011 at 12:34 pm
It would definitely be less messy!