
 This is Alpha, the first-born, when he was 2YO.
 This is Beta, the second-born, when he was about 2YO.
 This is Gamma, the third-born, when he was about 18MO.
Tire Ladder
Apr
21
2015
Inspired by Pinterest, my wife came up with some ideas for our yard. Here is the one I accomplished.
First step: acquire old tires.
This was an easy step. On my morning run I had seen four tires, abandoned on the side of the road. So I took the old minivan and picked them up. Then I went to the hardware store and got some lumber (some of that lumber is for a different project).
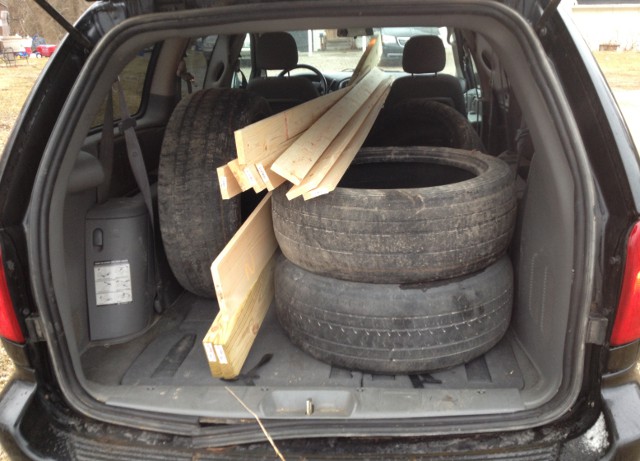
It’s nice having an old minivan into which I can throw muddy tires without worrying about messing anything up.
Next step: measure the tires and the place where the ladder will go.
I did not do this step. You should.
Next step: layout the tires
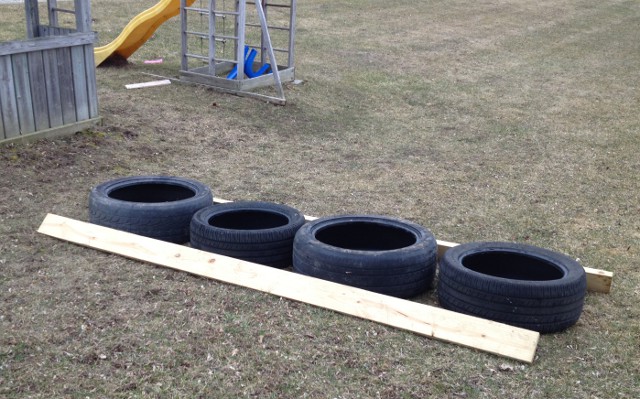
I wanted to see how many tires would fit between the boards.
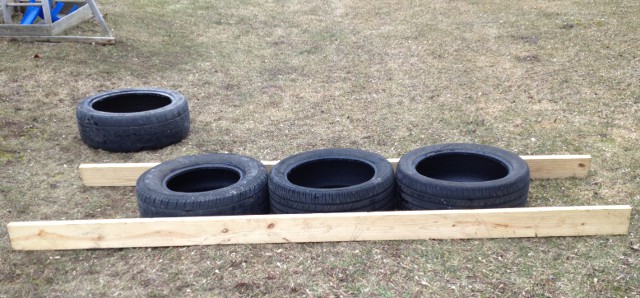
Then I stood the boards up in place (without the tires) and saw that having all 4 tires would be too much.
So I had to layout the tires again.
Now after measuring, I was ready to attach them. Tools needed: drill and wrenches.
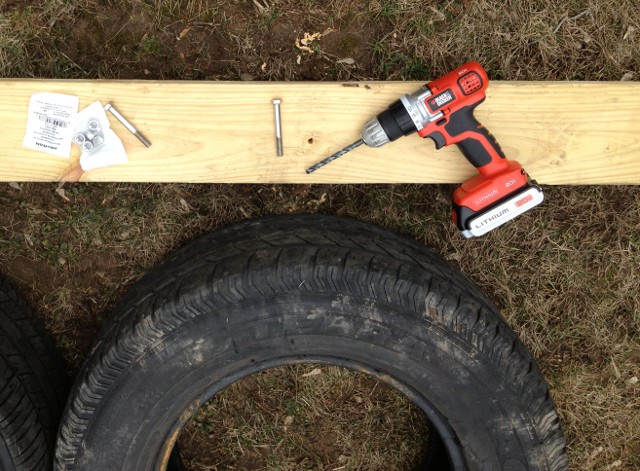
I had one drill bit sized to match the bolt. I recommend two drill bits – one to match the bolt (for drilling through the wood) and a larger bit (for drilling through the tire. The rubber kind of closes back around the hole after you take the bit out, so if you don’t make the hole larger than normal you’ll have a tough time getting the bolt through it.)
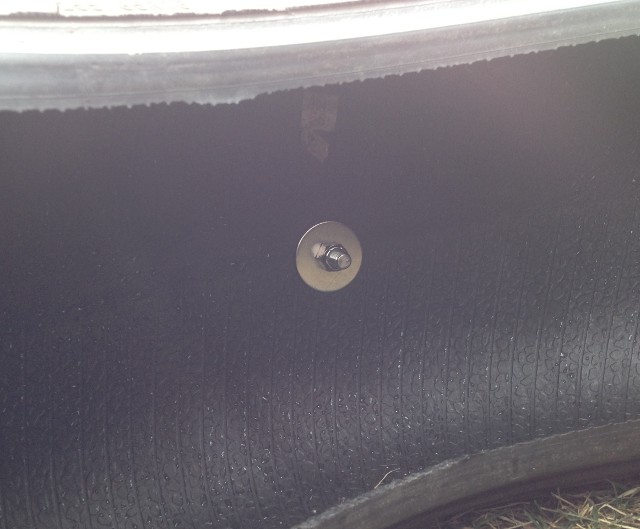
I put a bolt on each side of the tire, through the lumber being used as the side rails. That allowed the tires to spin, which the younger kids did not like. So I bolted each tire to its neighbor. Now they wobble a little, but they don’t spin.

I used the nylon-insert nuts so they’ll stay put. And a washer to prevent the nut from sinking into the tire.
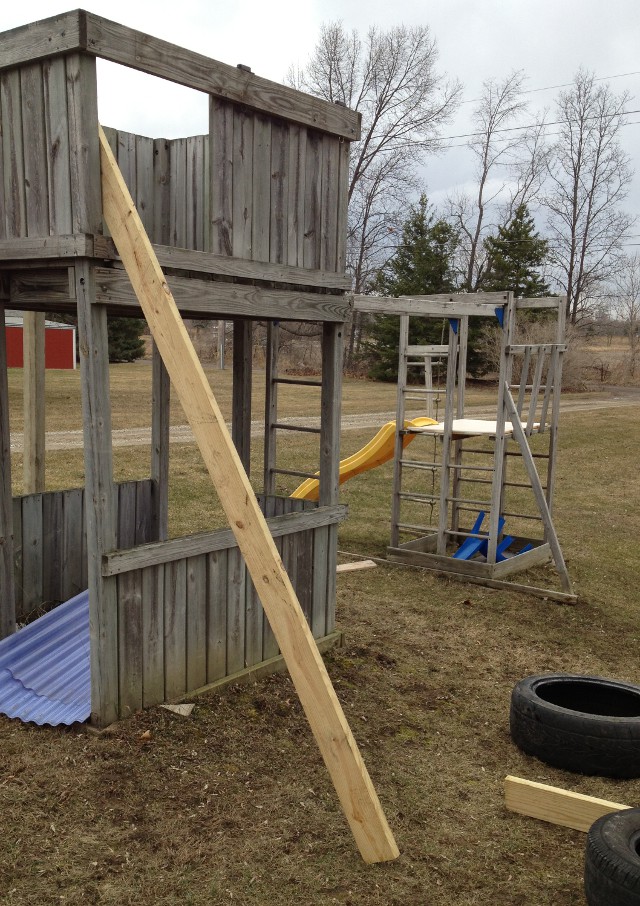
After that I stood the tire ladder up and fastened the top to the play structure. The kids then tried it out. It was a little tall for the little kids – they had to really stretch to go from tire to tire. But they could do it. The 9-year-old had no problems.

The final step was to drill drainage holes in each tire to make them inhospitable to mosquitoes. It had rained not too long ago, so there was a bit of water in each tire. I just placed the drill bit at the center of the puddle in each tire and drilled through. This is where the larger drill bit would be good again – you want a hole large enough for water to be able to run out.
I should have kept better record to summarize the cost. Tires were free, I bought 2 side rails and 8 nuts and bolts and washers. Total cost was probably around $25.
He had a dream, and behold, a ladder was set on the earth with its top reaching to heaven; and behold, the angels of God were ascending and descending on it.
Genesis 28:12


This little article thingy was written by Some Guy sometime around 6:04 am and has been carefully placed in the Projects category.


April 21st, 2015 at 7:16 am
Were you tired when you finished?
April 21st, 2015 at 8:00 am
Very tired. More than too tired, in fact – I was three tired.
April 21st, 2015 at 8:16 am
What to do with that 4th tire?
April 21st, 2015 at 11:57 am
Let the kids rolls each other down the hill in it.
April 21st, 2015 at 3:51 pm
That is an excellent choice.