
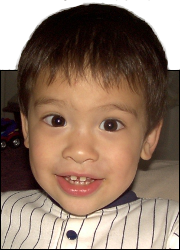
 This is Alpha, the first-born, when he was 2YO.
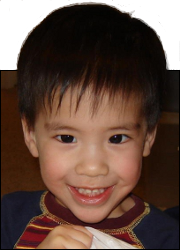 This is Beta, the second-born, when he was about 2YO.
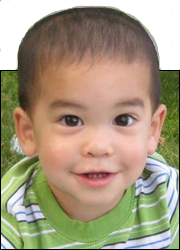 This is Gamma, the third-born, when he was about 18MO.
GIMP Stuff: Swirl-Tile
Mar
25
2010
I like using GIMP for creating and editing images. I was playing around with the auto-generation of images and just thought I’d share what I did, in case anyone else out there is wondering what the Swirl-Tile option does.
My goal was to generate some background for a website. I wanted the background to be interesting but not too distracting, and the seams between tiles shouldn’t be noticeable.
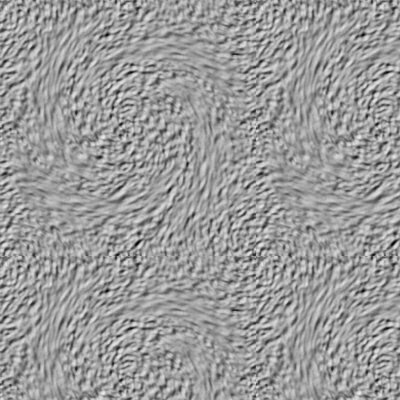
Setup: Find the option to generate swirl-tiles.
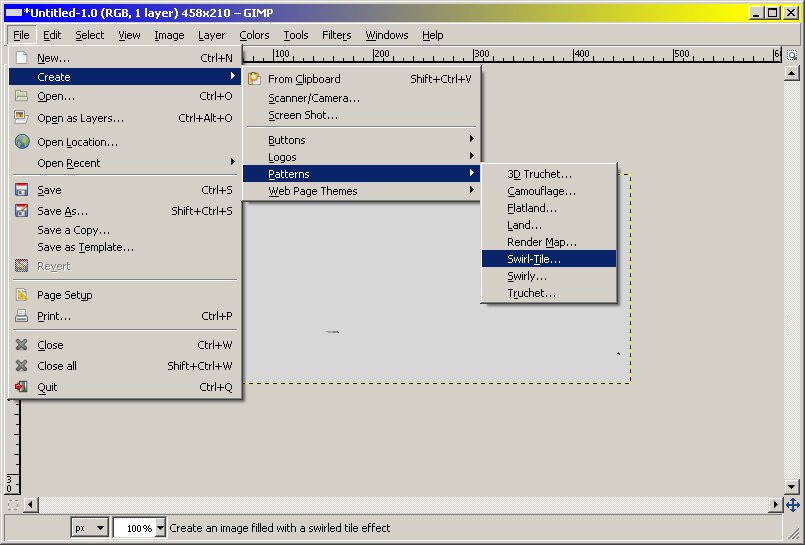
Step 1
It will have some defaults. These are the default settings:
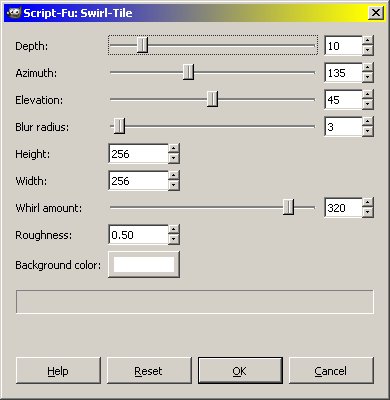
And this is what the default settings will generate:
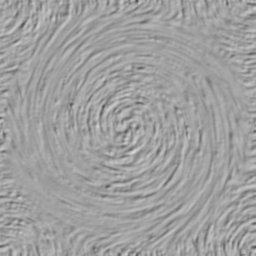
And here are a few of them put together. The seams aren’t too bad.
I’ll cut off the post here for the general blog readers who don’t care about web page background images. But those who are interested can click on the link below to continue reading.
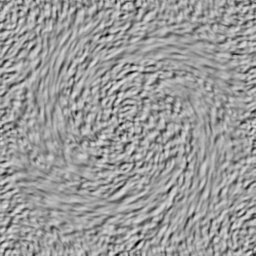
Step 2
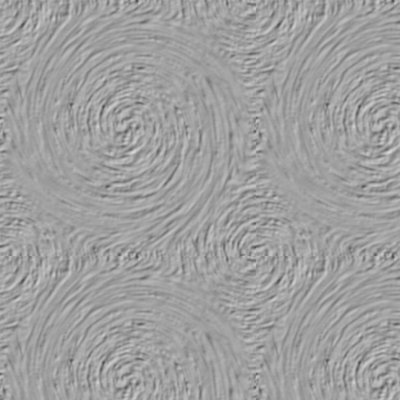
My first thought was that it was too swirly – the pattern was too obvious. So I reduced the Whirl amount to 100 and I got this:
And here are a few of them put together.
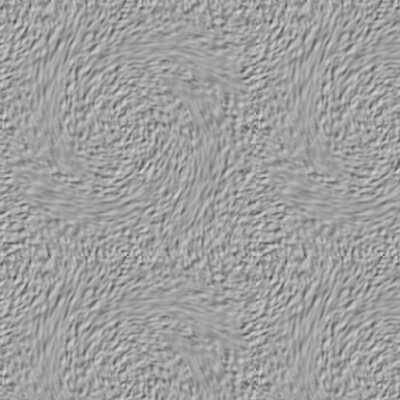
Step 3
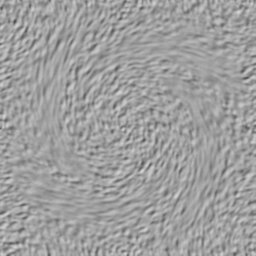
Maybe some more texture would help, so I doubled the Depth to 20 and got this:
As you can see, the Depth option gives more depth to the image – the texture is more pronounced. Here are a few of them put together.
Step 4
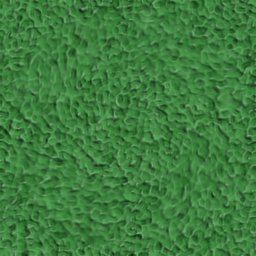
Still too much swirl, as that gives an obvious focal point. Reduce the Whirl down to 30 and get this:
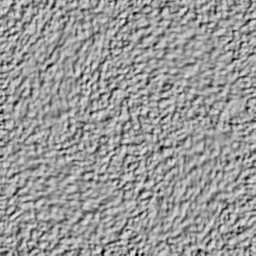
Ahh…much better. And tiled (look, you can’t tell where the seams are!):
Step 5
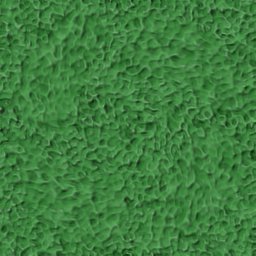
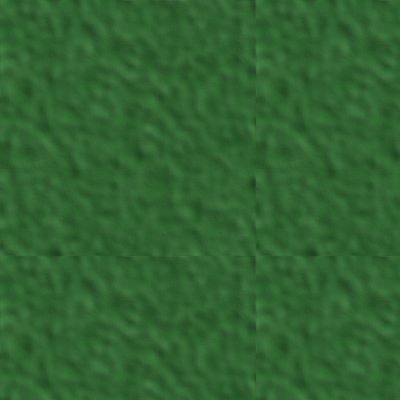
But the color is bland. Some of you may want the gray stucco look, but let’s see what else we can do. How about changing Color to green:
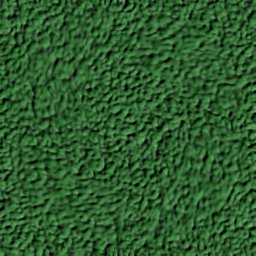
Almost looks like Astroturf. I realize they don’t really use that much anymore. You could substitute the term “green indoor-outdoor carpet that is appropriate for a camper but not really for a real house” instead.
Step 6
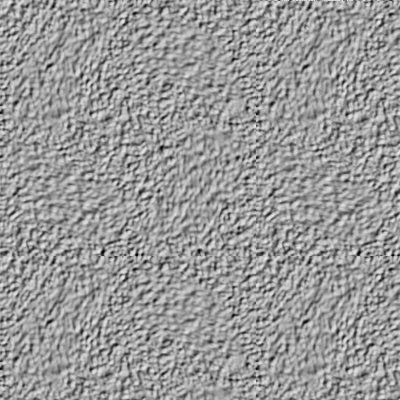
Then I thought I’d play with the Elevation. I reduced that from 45 to 15:
It turns out that a lower Elevation makes the image darker because it is more in the shadows.
Step 7
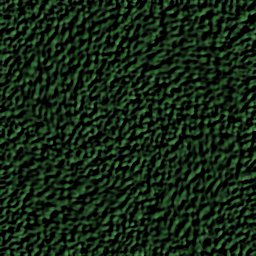
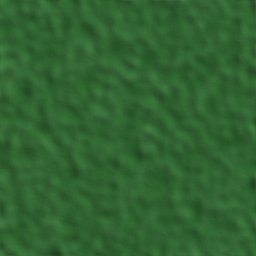
Next was the Roughness. I changed that from 0.50 to 0.10 (max is 1.00):
It made the image look less like grass and more like how wet paint looks if it was stuck between two papers and you peeled them apart. Not exactly what I was going for, but lowering the Roughness did give the image less texture.
Step 8
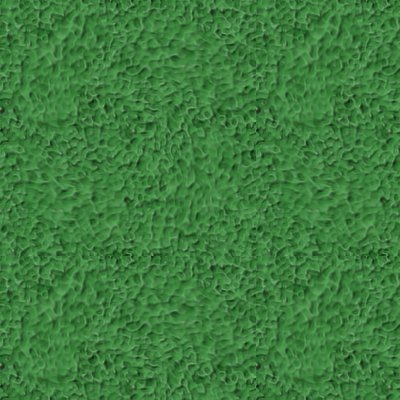
Step 7 had taken me off course, so I put the Roughness back to 0.50 and the put the Elevation up to 75:
Higher elevation = lighter color. Now it looks more like a sponge.
Step 9
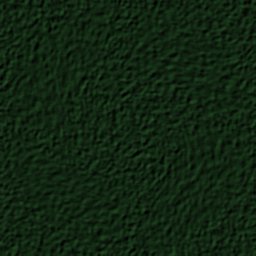
Only two more items to test, and this one is Azimuth, which is just the angle that the light hits the texture. I changed it from 135 to 45:
Here is a side-by-side comparison (Azimuth 135 on the left; 45 on the right):
There’s not much difference there. Azimuth doesn’t matter much for random textures
Step 10
The last item to check was the Blur Radius. This just adds a blur to the image after it is generated. I bumped up the Blur Radius from 3 to 12 in the hopes that more blur would result in a more-indistinct image that would be great for tiling:
It had the opposite effect – it was worse for tiling. If you want to put a bunch of the images together to make a tiled background, keep the blur low. Use the Depth or Roughness options instead.
Finish
That concludes this lesson on how to make background image tiles using GIMP.
My days are like a lengthened shadow, And I wither away like grass.
Psalm 102:11


This little article thingy was written by Some Guy sometime around 11:55 pm and has been carefully placed in the Technical category.